Building your own gaming PC not only offers a personalized gaming experience but also provides a deeper understanding of the inner workings of your computer. Whether you're a seasoned gamer or new to PC gaming, assembling your system can be both fun and educational. Follow this detailed guide to create a gaming PC that fits both your performance needs and budget.
Step 1: Set Your Budget
Your budget dictates the quality and performance of your PC. Gaming PCs can range from economical setups costing around $500 to high-performance machines that exceed $2000. Establishing a budget early helps focus your component choices and ensures you prioritize essential features.
.png)
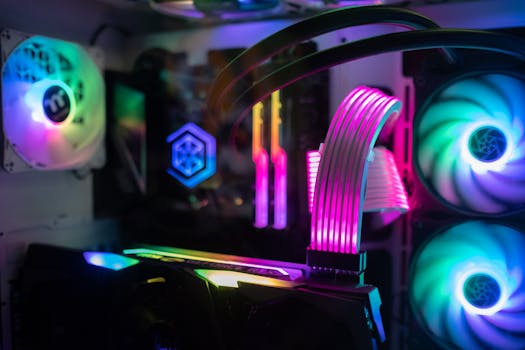
Step 2: Choose the Right Components
Selecting the right components is critical for building a powerful gaming PC:
- CPU (Central Processing Unit): Considered the brain of your PC, the CPU handles instructions and processing. For gaming, opt for a minimum of a quad-core processor from reputable brands like AMD or Intel.
- GPU (Graphics Processing Unit): Essential for gaming, the GPU renders images and animations. Invest in a high-quality GPU for better graphics and smoother performance.
- RAM (Random Access Memory): RAM is your system's short-term memory. Start with at least 8GB of RAM; however, 16GB is ideal for optimal gaming experiences.
- Motherboard: Ensure compatibility with your chosen CPU and that it has sufficient slots for RAM and other expansion needs.
- Storage: SSDs provide quicker boot and load times. Starting with a 500GB SSD is advisable, supplemented by an HDD for extra storage if needed.
- Power Supply: A reliable power supply unit (PSU) should meet the wattage requirements of your components.
- Case: Select a case that fits all components and supports good airflow to prevent overheating.
Step 3: Assemble Your Tools
Gather the necessary tools for assembly, including a Phillips head screwdriver, anti-static wrist strap, and thermal paste. Cable ties and a flashlight can also be helpful for organization and visibility.
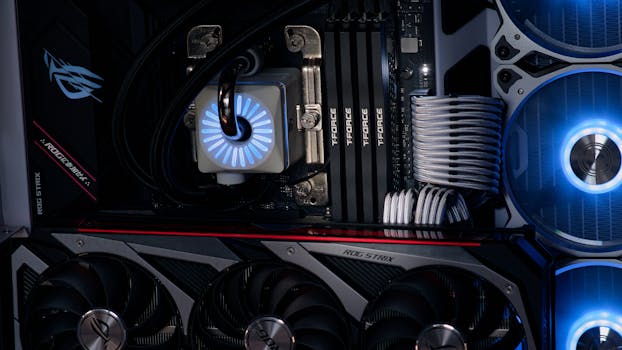
Step 4: Build the PC
- Install the CPU: Carefully place the CPU into the motherboard socket, ensuring it's correctly aligned and secure.
- Apply Thermal Paste and Install the Cooler: Place a pea-sized amount of thermal paste on the CPU. Mount the cooler on top and secure it as per instructions.
- Install RAM: Click the RAM sticks into the designated slots on the motherboard.
- Prepare the Case: Remove the side panels and install any necessary standoffs.
- Install the Motherboard: Position the motherboard in the case, align with standoffs, and secure with screws.
- Install the GPU: Secure the GPU in the appropriate PCIe slot and fix it to the case.
- Install Storage: Place your SSD/HDD in the case and connect them with SATA cables.
- Connect the Power Supply: Fit the PSU in its compartment and connect cables to the motherboard, GPU, and storage drives.
- Final Touches: Attach any additional peripherals and fans. Use cable ties for clean cable management.
Step 5: Install an Operating System
Choose and install an operating system (OS) like Windows or Linux. Follow the installation instructions and ensure all necessary drivers are updated for optimal system performance.
Step 6: Test Your PC
Power up your PC and enter the BIOS to verify that all components are recognized and properly functioning. Conduct a stress test to check system stability.
Step 7: Optimize and Enjoy
Regularly update your OS and drivers to maintain system performance. Adjust your settings for an enhanced gaming experience and enjoy the powerful capabilities of your newly built gaming PC.
By following these steps, you can successfully build a custom gaming PC that meets your specific gaming needs and preferences. Revel in the achievement of constructing your own high-performance gaming rig and the enhanced gaming sessions that follow.